
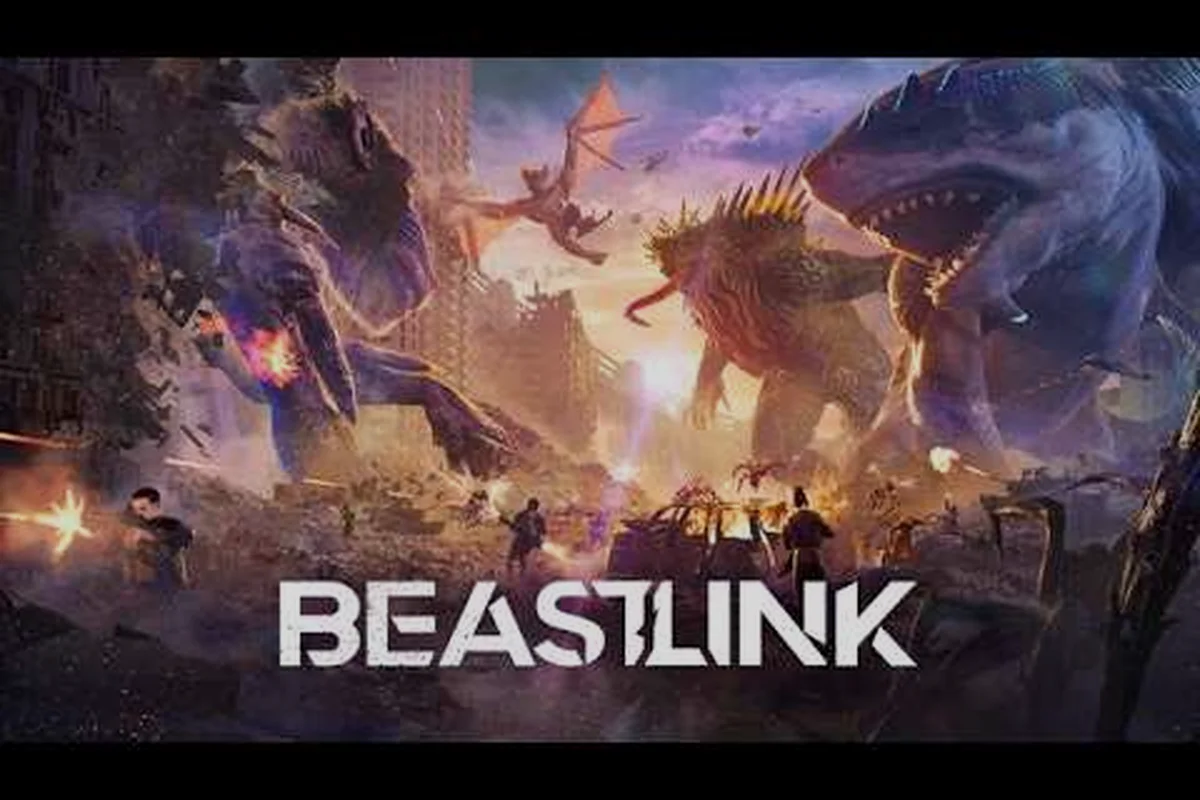
Picking the right Kaiju in BeastLink is the difference between leveling a city block and getting kited by a squad of jeeps until your Link expires. The BeastLink beast playstyles system gives every player a distinct role in the chaos, but the game doesn't hold your hand when it comes to matching a Beast to your habits. This guide breaks down each playstyle's strengths and weaknesses, explains how to choose a beast based on your squad and objectives, and highlights the best beginner beast for your first few Links. By the end, you'll know exactly which colossal creature deserves your hard-earned serum.
Understanding the Core BeastLink Beast Playstyles
Before you spend serum on a dormant Kaiju, you need to understand that every Beast in BeastLink fits into one of three broad playstyle families: brawler, zone controller, and hit-and-run striker. These categories define how you approach engagements, how much damage you can absorb, and what your team should be doing while you're active. The Link system on the official BeastLink Steam page describes the core fantasy as taking control of colossal creatures with unique abilities, and that uniqueness is exactly what separates one playstyle from another.
Your choice also depends heavily on your squad composition. A team of vehicle players who love hit-and-run tactics will support a completely different Beast than a squad that wants to hold a capture point and dare the enemy to approach. Here's a quick breakdown of what each playstyle family prioritizes:
-
Brawlers excel at sustained melee damage and tanking incoming fire while your team caps objectives.
-
Zone controllers lock down streets and choke points with area denial, forcing enemy vehicles into kill boxes.
-
Hit-and-run strikers punish isolated targets and retreat before the enemy can organize a counter-attack.
Each family has its own rhythm, and the BeastLink beast strengths and weaknesses within each family are dramatic enough that you'll feel the difference immediately. A brawler that can't close distance is useless, just as a striker that gets caught in the open melts faster than a civilian car. The key is matching the Beast's natural tendencies to your own playstyle, not forcing yourself to adapt to a creature that fights the way you think.
Brawler Beasts: Strengths and Weaknesses
Brawler Beasts are the frontline wrecking balls of BeastLink, built to wade into the densest fighting and come out the other side with buildings collapsing around them. These creatures rely on high base health, heavy melee attacks, and short-to-medium range abilities that punish anyone foolish enough to stand their ground. If you enjoy being the center of attention and forcing the enemy to deal with you or lose the objective, this is your family.
The trade-off is mobility. Most brawlers move slower than vehicles and have limited gap-closing tools, which means smart enemy squads will try to kite you with fast cars and long-range weapons. Your job is to make them pay for every second they spend not focusing your team's vehicles.
| Attribute | Brawler Strength | Brawler Weakness |
|---|---|---|
| Health pool | Very high, can absorb sustained fire | Large target, easy to hit from range |
| Damage output | Devastating up close | Weak outside melee range |
| Mobility | Slow but steady | Easily kited by fast vehicles |
| Objective control | Excellent at holding points | Vulnerable while rotating |
| Team synergy | Needs vehicle support to cover flanks | Struggles without a coordinated squad |
According to community reports from the BeastLink Early Access, brawlers are the most forgiving playstyle for new players because they can survive mistakes that would delete a striker. However, that same survivability can breed bad habits, so you still need to learn when to retreat and reposition. The SuperDestruction mechanic described on the official BeastLink website collapses buildings and reduces entire city blocks to dust, and brawlers are the best at triggering those chain collapses to deny the enemy cover.
Positioning and Timing for Brawlers
Brawlers live and die by positioning. You want to engage in dense urban areas where buildings funnel enemy vehicles into narrow streets, not open plazas where they can circle you from every angle. Time your Link activation so you're entering the fight as your team's vehicles push the objective, not before they're in position to support you.
The best brawler players treat their health bar as a resource to trade, not something to protect at all costs. If you can force the enemy to waste their anti-Beast weapons on you while your squad flanks, you've done your job even if you go down. That said, don't overextend into enemy spawn zones where fresh vehicles will swarm you from all directions.
Zone Controller Beasts: Strengths and Weaknesses
Zone controller Beasts are the tactical backbone of a winning BeastLink squad, trading raw damage for area denial, crowd control, and map manipulation. These creatures excel at locking down objectives, forcing enemy vehicles into kill boxes, and making entire sections of the map impassable. If you enjoy playing chess while everyone else plays checkers, this playstyle will feel like home.
The catch is that zone controllers typically have the lowest burst damage of the three families, and they rely heavily on teammates to capitalize on the openings they create. A zone controller that locks down a street is only useful if your team's vehicles are there to shoot the trapped enemies.
| Attribute | Zone Controller Strength | Zone Controller Weakness |
|---|---|---|
| Area denial | Excellent at locking down objectives | Low burst damage |
| Crowd control | Can disable multiple vehicles at once | Requires team follow-up |
| Survivability | Decent, but not tanky | Vulnerable while abilities are on cooldown |
| Map control | Forces enemy movement patterns | Limited solo kill potential |
| Team dependency | Multiplies squad effectiveness | Struggles in solo play |
Players report that zone controllers shine brightest in game modes with static objectives, where you can pre-position your abilities and force the enemy to push through your kill zone. The official BeastLink website confirms battles take place across huge maps built for up to 32 players and multiple active Beasts, which means there's almost always a second objective your team can pressure while you hold the first.
Zone Control Ability Rotation
The key to playing a zone controller effectively is ability rotation discipline. You should never blow all your area denial tools at once, because the moment you do, the enemy knows they have a window to push through. Instead, stagger your abilities so there's always at least one active threat in the zone you're defending.
Start by placing your largest area denial ability on the main approach, then hold your secondary tools for when the enemy commits to a push. This forces them to either eat the damage or wait out the cooldown, and either way you've bought your team valuable time. Communicate with your squad about when you're about to refresh your zone, because a coordinated push right after your abilities come back online can catch the enemy off guard.
Hit-and-Run Striker Beasts: Strengths and Weaknesses
Hit-and-run striker Beasts are the glass cannons of BeastLink, built for burst damage, extreme mobility, and target elimination. These creatures excel at punishing isolated vehicles, deleting high-value targets, and disappearing before the enemy can organize a response. If you love the thrill of diving into the backline and causing chaos, this is your playstyle.
The trade-off is brutal: strikers have the lowest effective health of the three families, and a single mistake usually means your Link ends early. You can't trade blows with a brawler or absorb a zone controller's punishment, so every engagement needs to be planned and executed with precision.
| Attribute | Striker Strength | Striker Weakness |
|---|---|---|
| Burst damage | Highest in the game | Falls off after abilities are spent |
| Mobility | Excellent gap closers and escapes | Fragile if caught |
| Target priority | Can delete key enemy units | Struggles against multiple targets |
| Engagement control | You choose when to fight | No room for mistakes |
| Skill ceiling | Rewards mechanical skill | Punishes poor decision-making |
According to player experience shared in BeastLink community discussions, strikers are the hardest playstyle to master but also the most rewarding when played well. A skilled striker can single-handedly turn a losing fight by deleting the enemy's best vehicle player, then escaping before the rest of the squad can react. The key is knowing exactly which targets matter most and committing fully to that elimination.
Target Priority and Escape Planning
Every striker engagement needs two plans: how you get in, and how you get out. Before you commit to a target, identify your escape route and make sure it's clear of enemy fire. The best strikers never commit to a fight they can't escape from, because trading your Link for a single vehicle kill is almost never worth it.
Your target priority should always be the enemy's most impactful unit, whether that's a vehicle player who's been dominating your squad or another Beast that's about to hit its ultimate ability. Delete the threat, then immediately reposition to a safe spot and wait for your cooldowns. Patience is the striker's greatest weapon, because every engagement you survive is another chance to change the game.
Matching a Beast to Your Squad Role
Now that you understand the three BeastLink beast playstyles, it's time to talk about how to choose a beast that fits your squad's composition and the mode you're playing. The best choice isn't always the strongest Beast on paper, because synergy with your team matters more than raw stats. A brawler with no vehicle support will get kited all game, while a striker with a coordinated squad can dominate even against tougher opponents.
Start by asking yourself three questions before you spend serum:
-
What is my squad's primary objective? If you're defending a point, a zone controller is usually the best pick. If you're pushing into enemy territory, a brawler or striker creates more pressure.
-
What are my teammates playing? If your squad is all vehicles, a brawler gives them a frontline to rally around. If you have another Beast on your team, coordinate to cover each other's weaknesses.
-
What does the enemy composition look like? If the enemy has a lot of fast vehicles, a zone controller can lock them down. If they're running heavy armor, a striker's burst damage might be the answer.
For a deeper dive into the specific Beast roster and unlock requirements, check out our BeastLink beast unlock guide which covers every creature available in Early Access and how to add them to your rotation.
First Beast Recommendations
If you're still deciding on your beastlink first beast, the community consensus is clear: start with a brawler. The extra health gives you room to learn the game's mechanics without getting deleted in the first ten seconds of your Link, and the straightforward playstyle teaches you the fundamentals of positioning and engagement timing that apply to every other Beast.
That said, your first Beast should also match your personality. If you know you're an aggressive player who loves chasing kills, a striker might actually be the better beastlink beginner beast for you, because you'll have more fun and learn faster when you're playing in a style that feels natural. The worst choice is picking a Beast that fights against your instincts, because you'll spend the whole match fighting your own creature.
BeastLink Beast Damage Guide: Maximizing Your Output
This BeastLink beast damage guide focuses on the universal principles that apply across all three playstyles, because raw numbers matter less than how you apply them. The most important concept is damage windows: every Beast has moments where its abilities are ready and moments where it's vulnerable, and the best players maximize the former while minimizing the latter.
Your damage rotation should always start with your highest-impact ability to catch the enemy off guard, then follow up with your basic attacks while the cooldowns tick down. Don't waste your ultimate on a single vehicle when a group of enemies is clustered together, because the multi-kill potential is almost always worth the extra second of patience.
| Playstyle | Damage Window | Optimal Engagement Range | Key Stat Priority |
|---|---|---|---|
| Brawler | Sustained, short bursts | Melee to short range | Health, melee damage |
| Zone Controller | Ability-based, long cooldowns | Medium range | Cooldown reduction, area damage |
| Striker | Burst, short windows | Medium to long range | Burst damage, mobility |
Resource Management and Cooldown Tracking
Every Beast has a resource bar that fuels its abilities, and managing that bar is just as important as landing your attacks. You should never enter a fight with an empty resource bar, because that means you're fighting with only your basic attacks while the enemy can use their full kit against you. Track your cooldowns mentally and know exactly when your next big ability comes online.
The best players also track the enemy's cooldowns, especially when facing another Beast. If you know the enemy brawler just used its gap-closer, you have a window to kite it safely. If the enemy striker just blew its escape tool, that's your chance to focus it down. This level of awareness separates good Beast players from great ones, and it's a skill you'll develop over time.
Frequently Asked Questions
What is the best BeastLink beast playstyle for beginners?
The brawler playstyle is the best starting point for most new players because its high health pool forgives positioning mistakes while you learn the game's mechanics. You can absorb damage that would delete a striker, giving you time to understand engagement timing and objective control. Once you're comfortable with the fundamentals, experiment with the other playstyles.
How do I know which Beast to choose for my squad?
Match your Beast to your squad's composition and the mode's objective. If your team needs a frontline, pick a brawler. If you're defending a static point, a zone controller multiplies your squad's effectiveness. If your team already has a tanky Beast, a striker adds burst damage that covers your squad's weakness.
What are the main BeastLink beast strengths and weaknesses?
Brawlers have high health and melee damage but struggle with mobility. Zone controllers excel at area denial but lack burst damage. Strikers offer the highest burst and mobility but are fragile and unforgiving. Understanding these BeastLink beast strengths and weaknesses helps you pick the right creature for each situation.
How long does a Beast Link last in BeastLink?
The duration of your Link depends on your serum reserves and how much damage you take, since taking heavy fire drains your Link faster. According to community reports, a well-played Link can last several minutes, while aggressive play that eats too much damage can end in under a minute. Manage your engagements to maximize your active time.
Can I switch Beasts during a match?
You can switch Beasts mid-match, but only after your current Link ends—and each swap costs serum. That means hopping between playstyles, like trading a brawler for a sniper, is possible, but budget wisely. Plan your Links around your squad’s needs, not just your impulse.